25 Jun 2024

[ad_1]
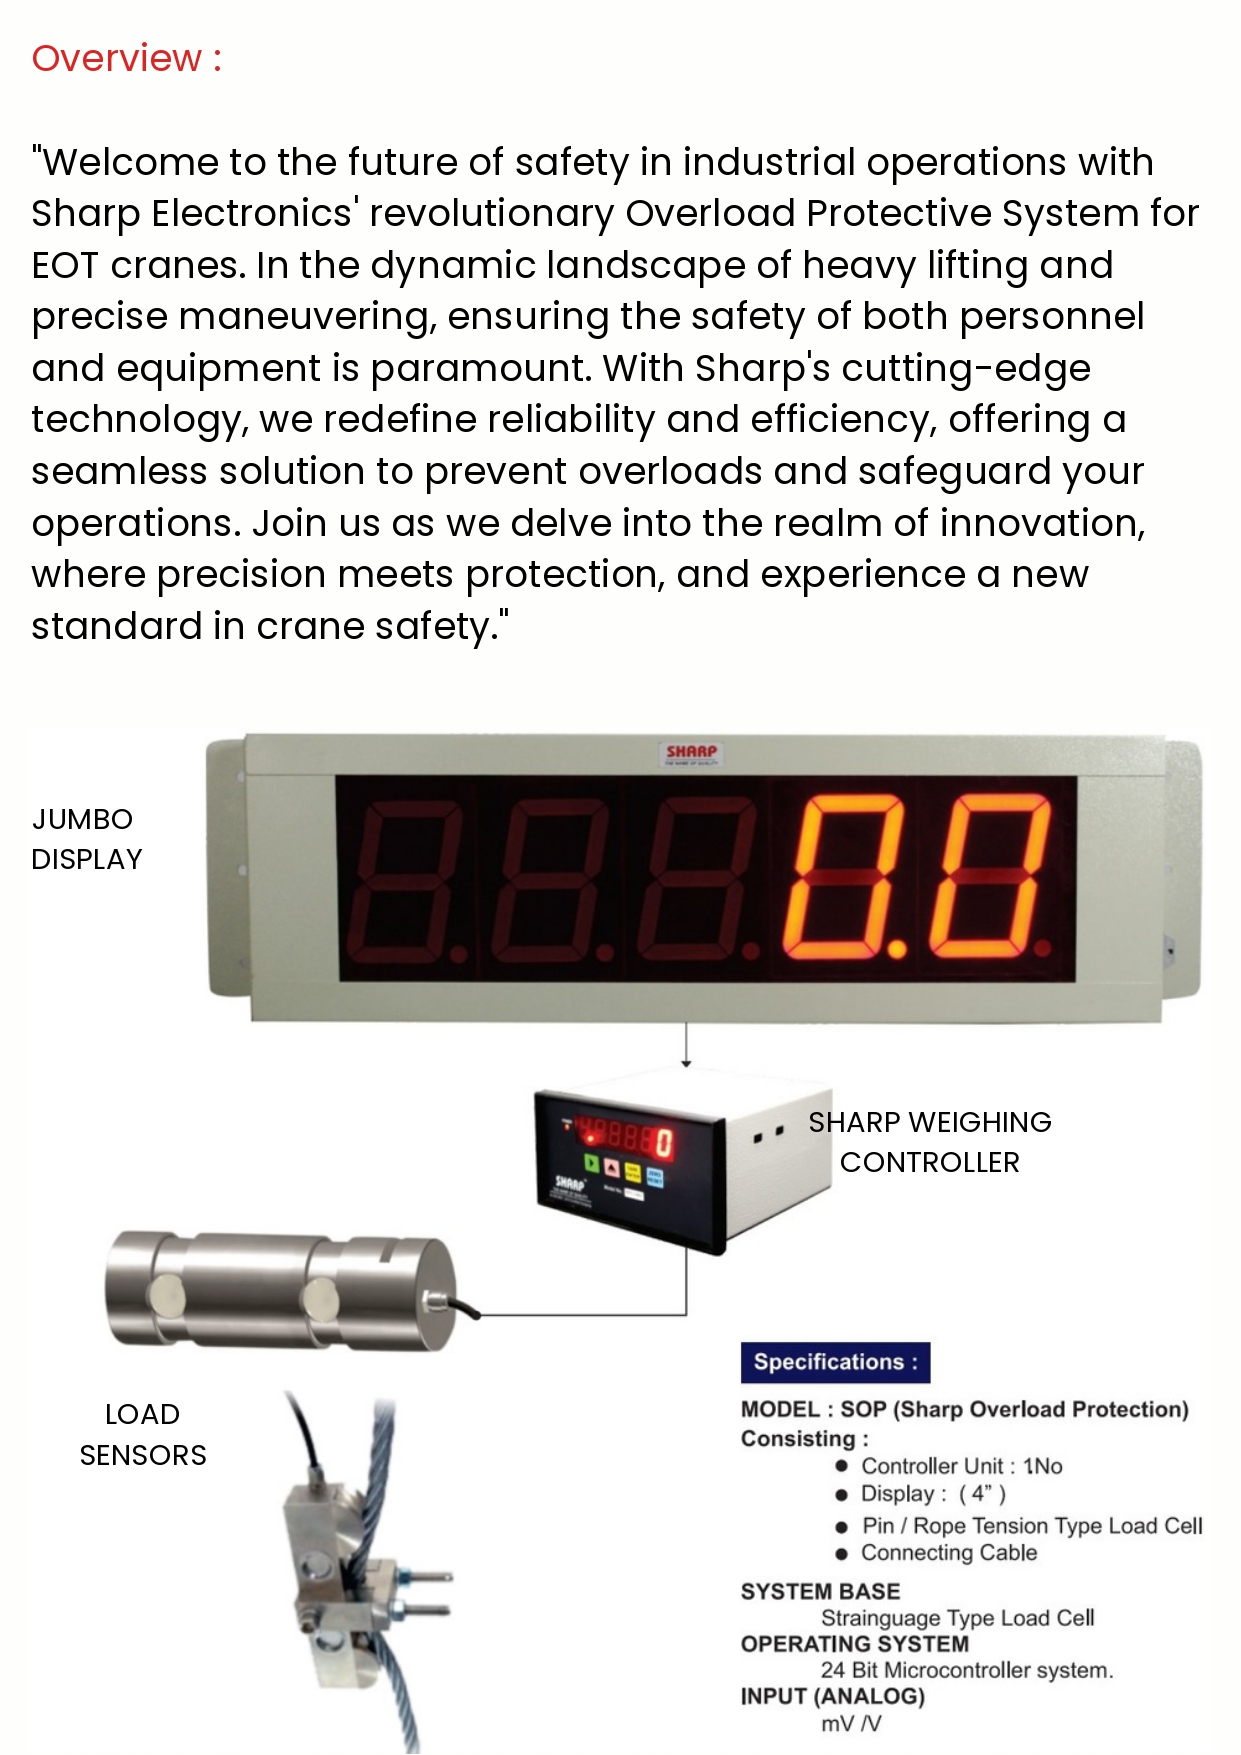
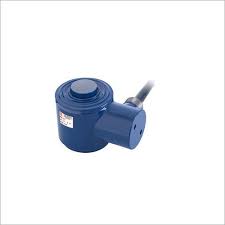
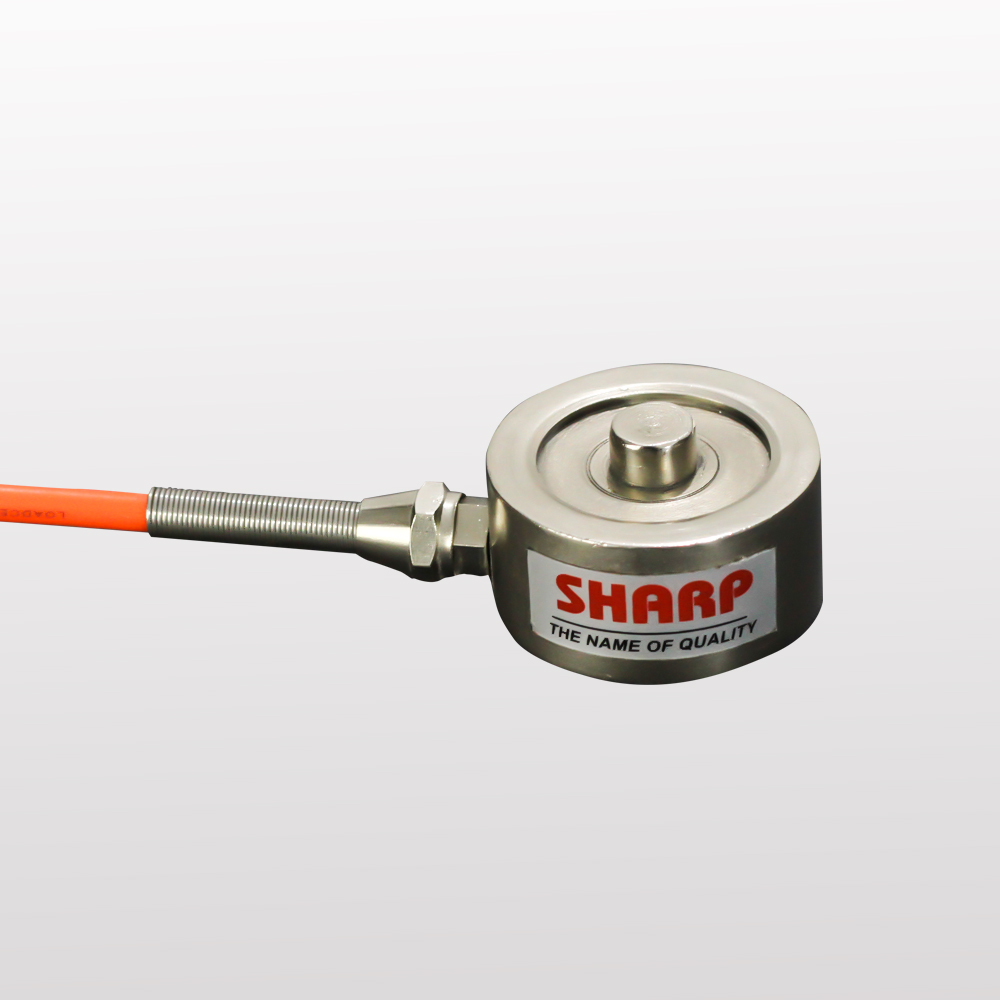
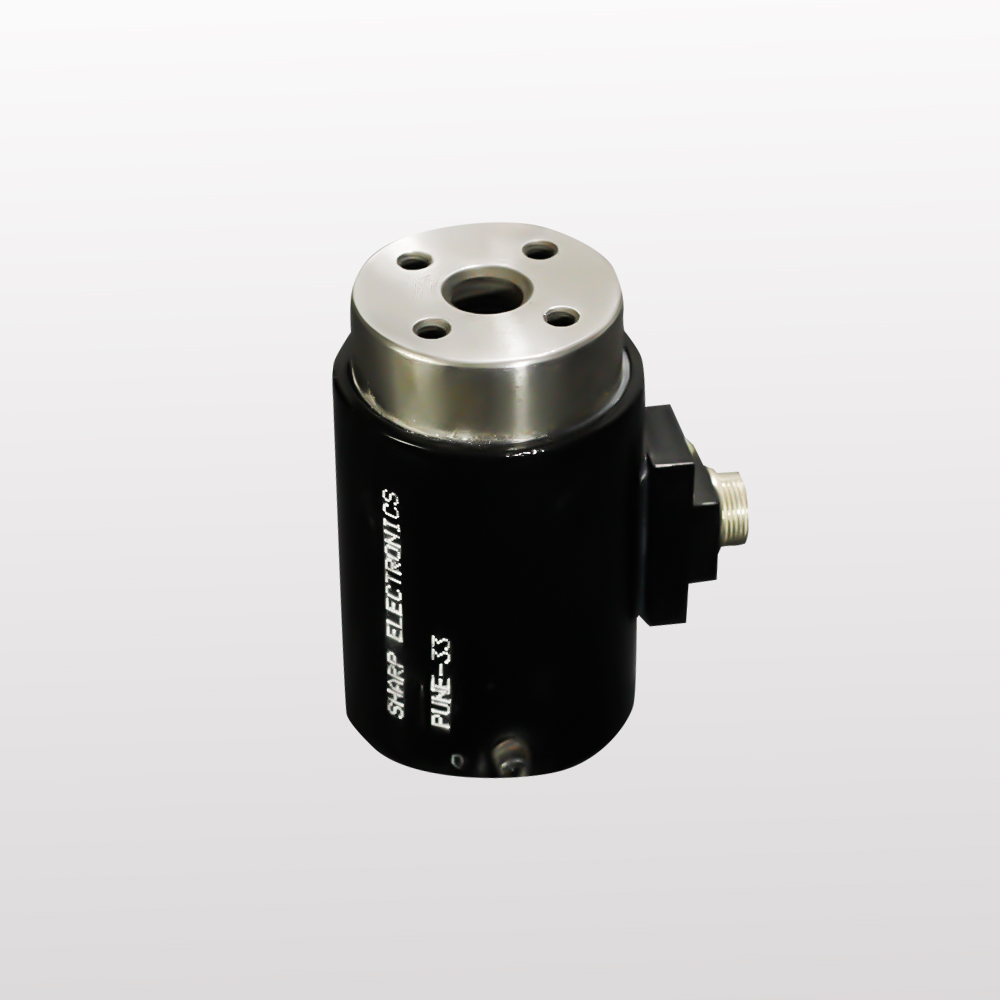
Load cells are highly useful devices when it comes to measuring tension or compression forces accurately. They are commonly used in industrial settings, laboratories, and even in some consumer products. When it comes to interfacing load cells with microcontrollers like Arduino, it opens up a wide range of possibilities for precision measurements and data analysis. In this article, we will discuss how to interface tension load cells with Arduino for precision measurements.

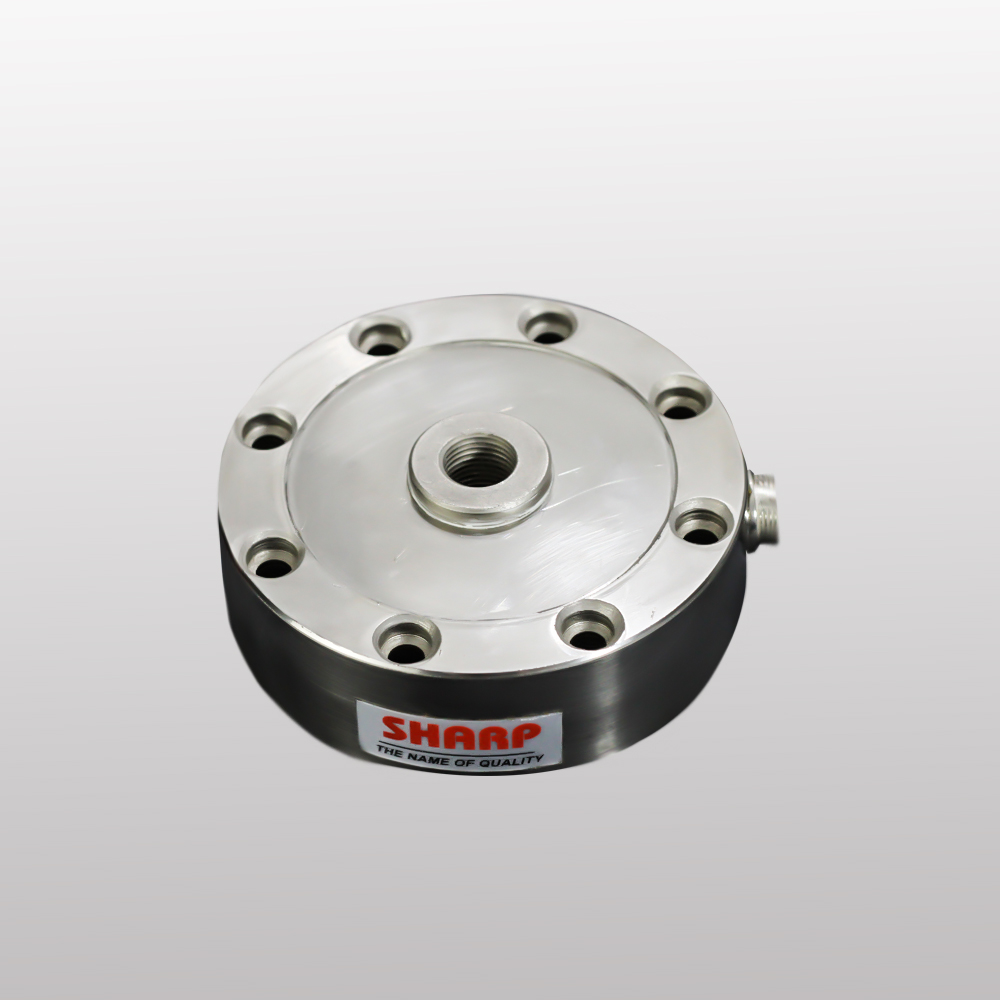
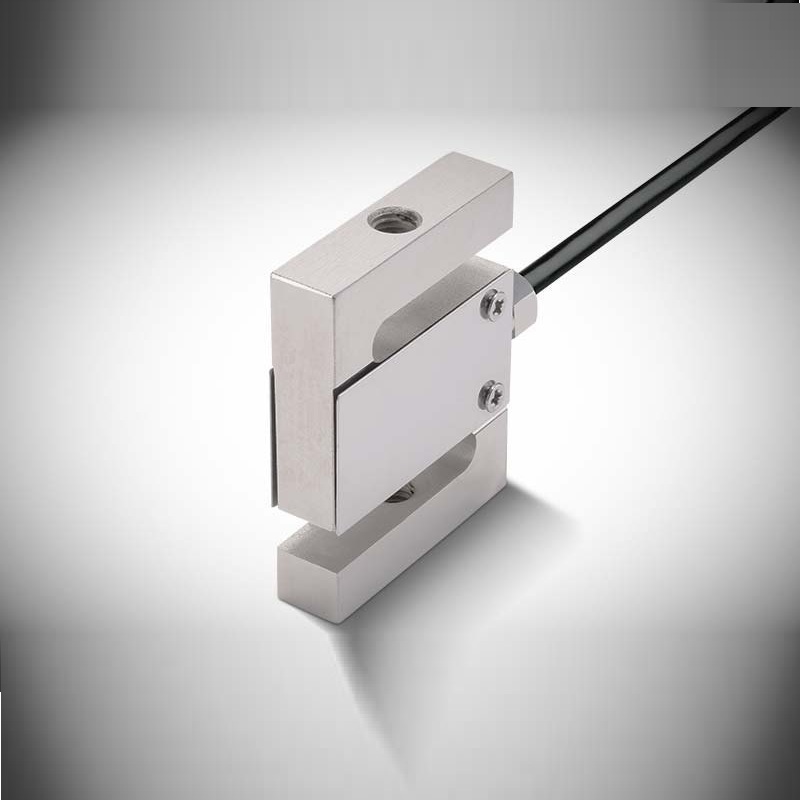
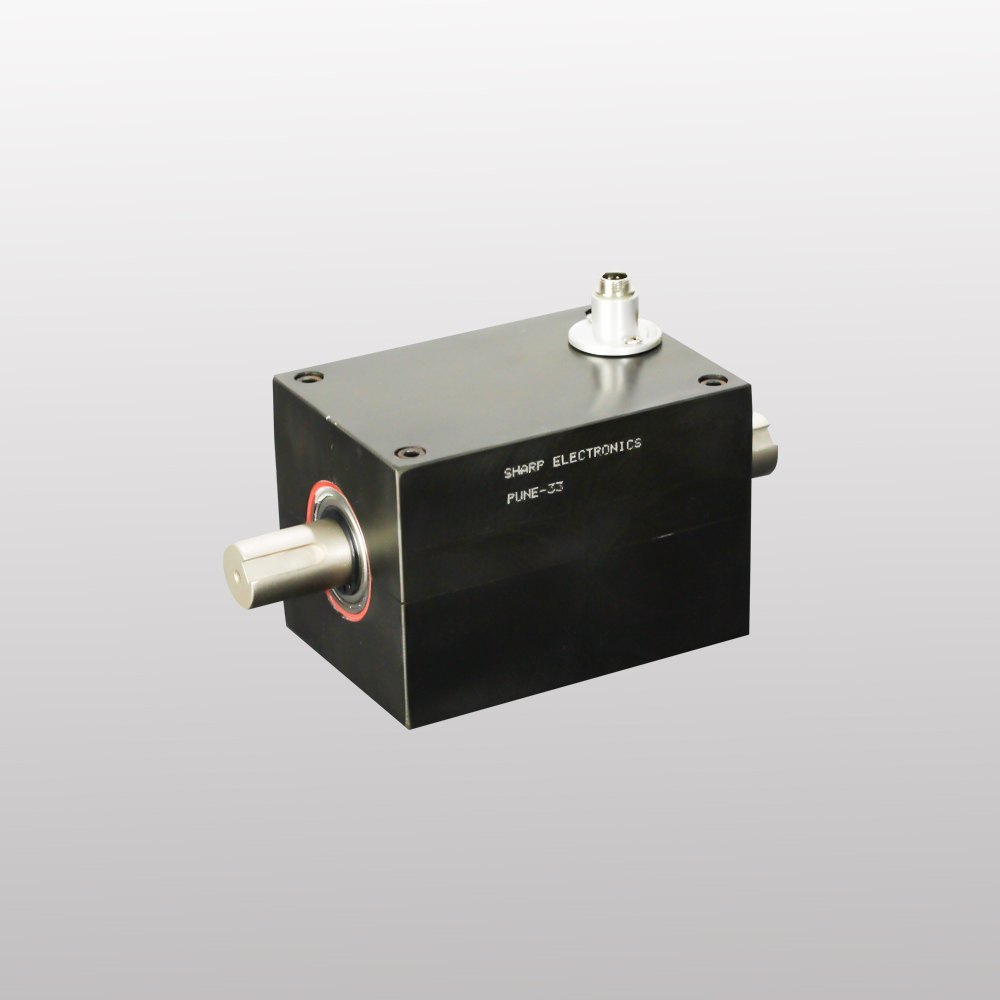
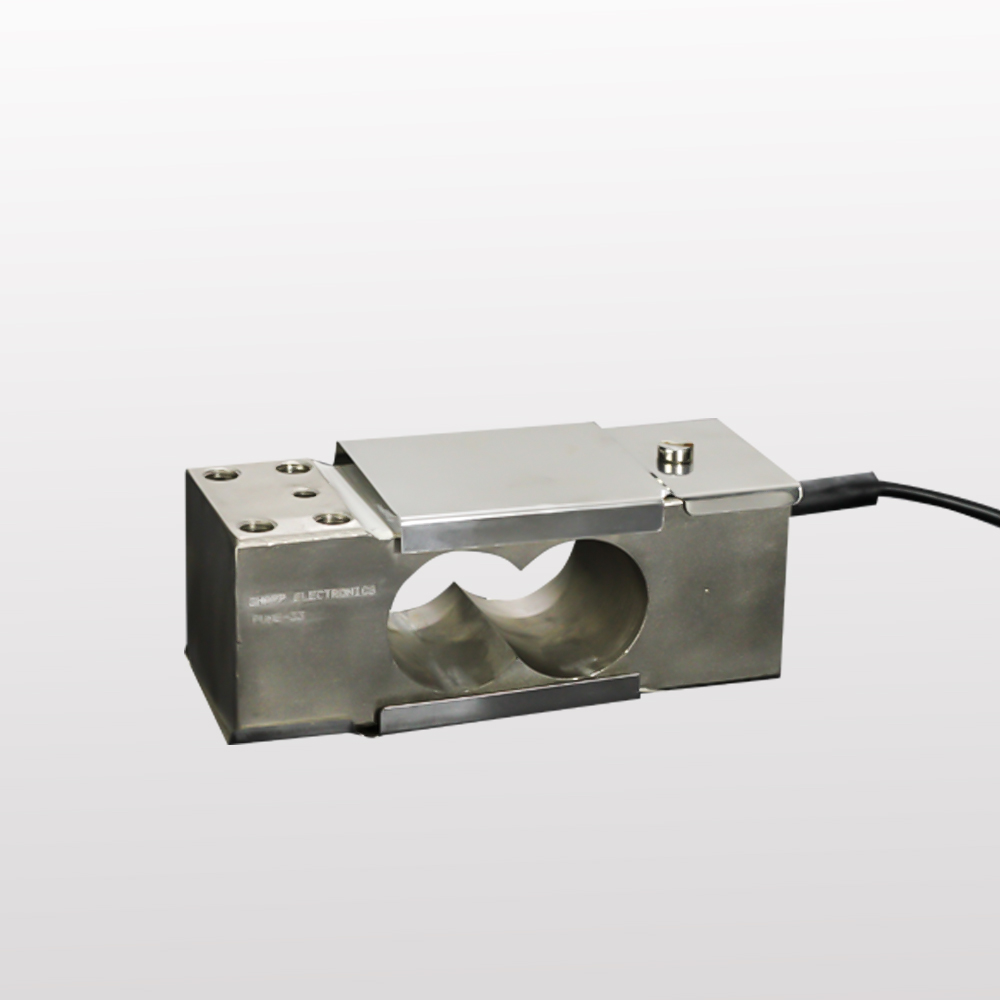
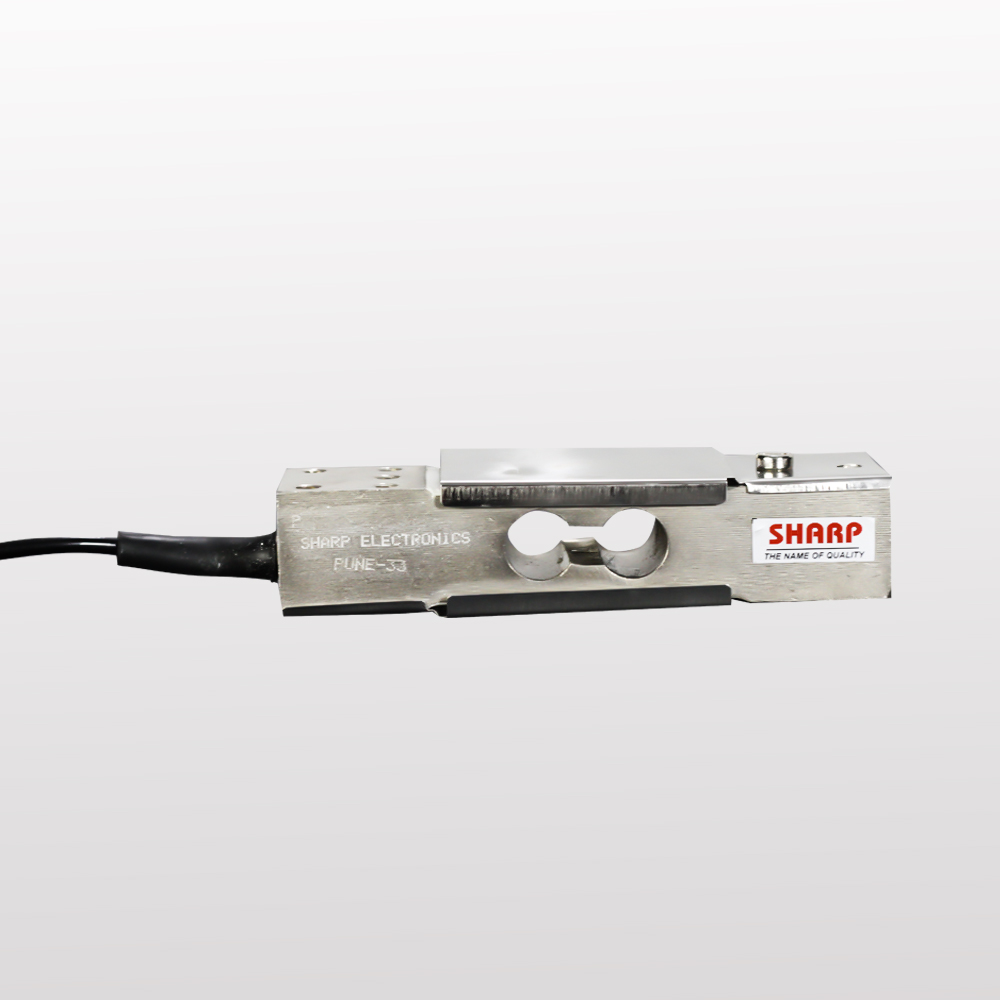
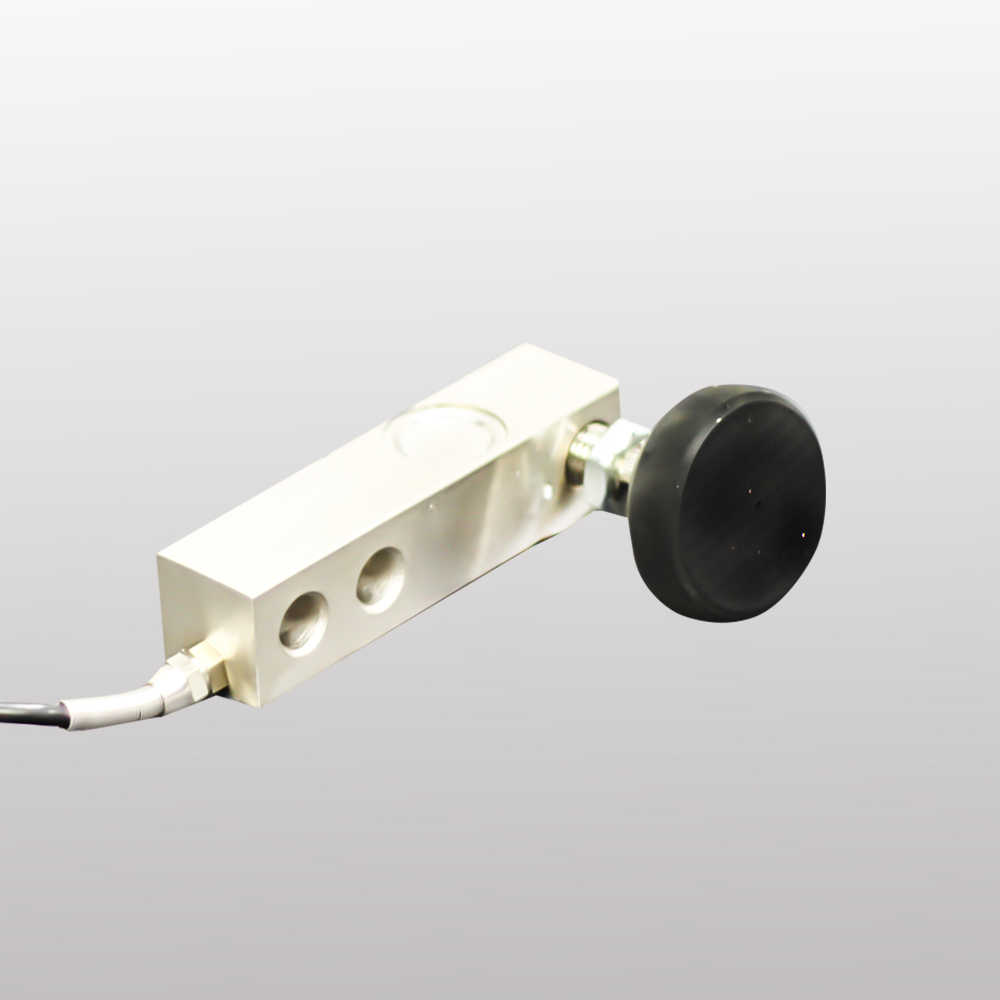
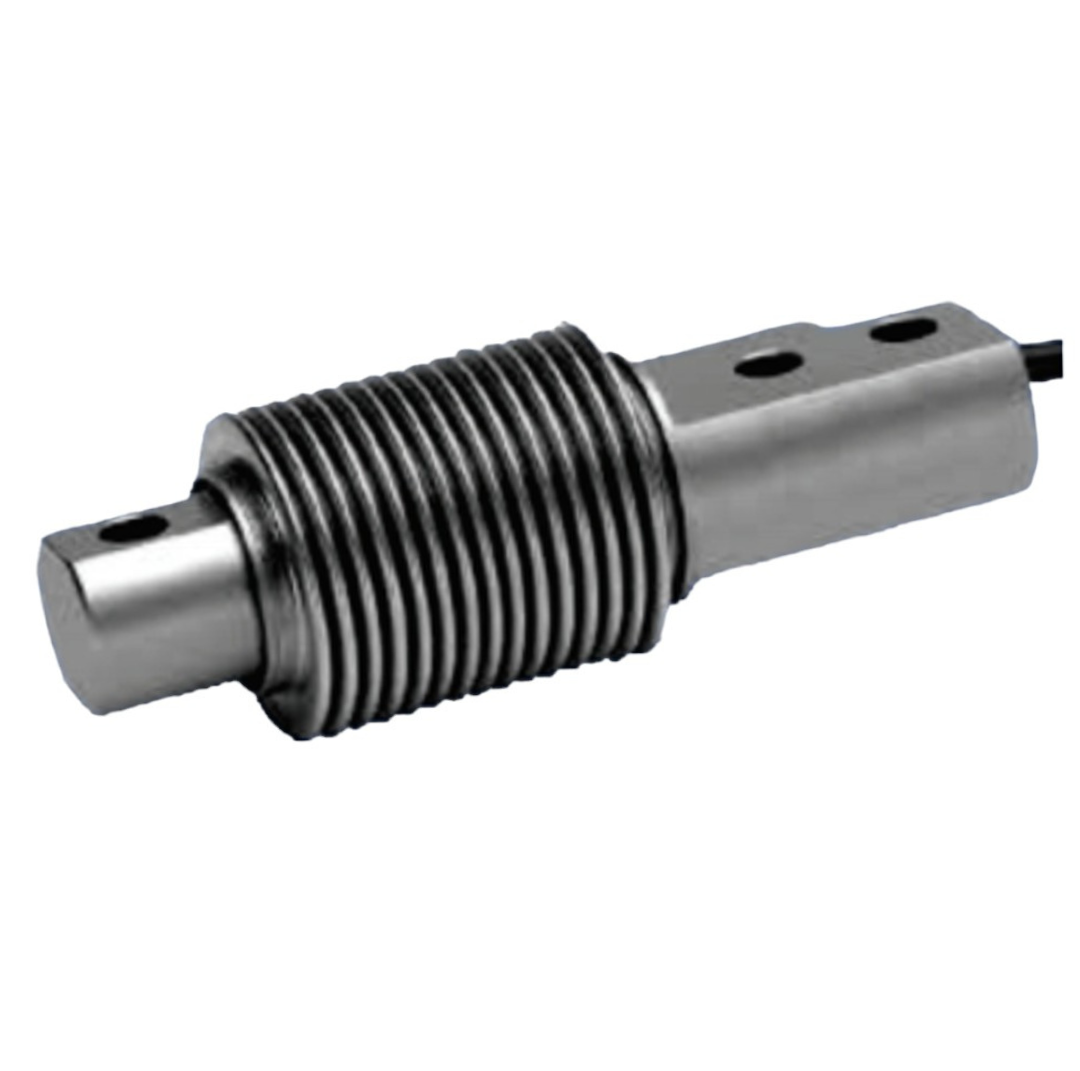
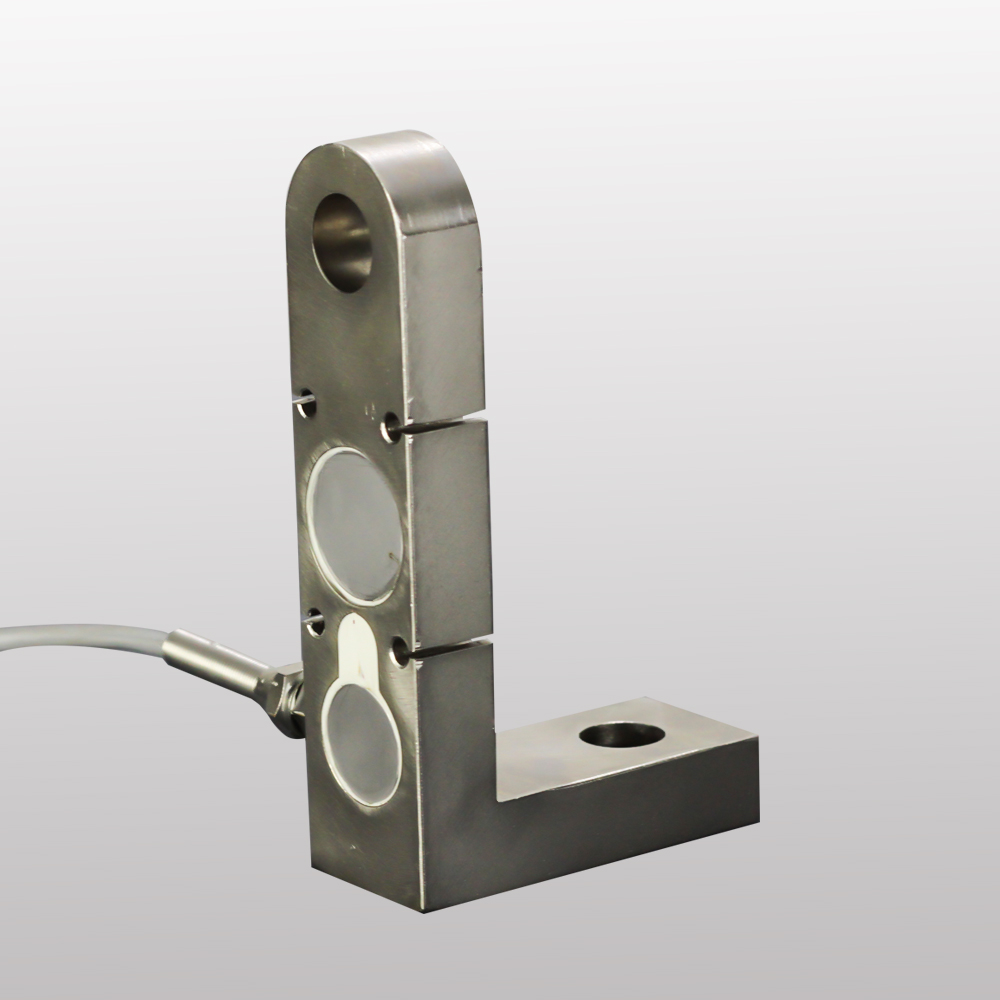
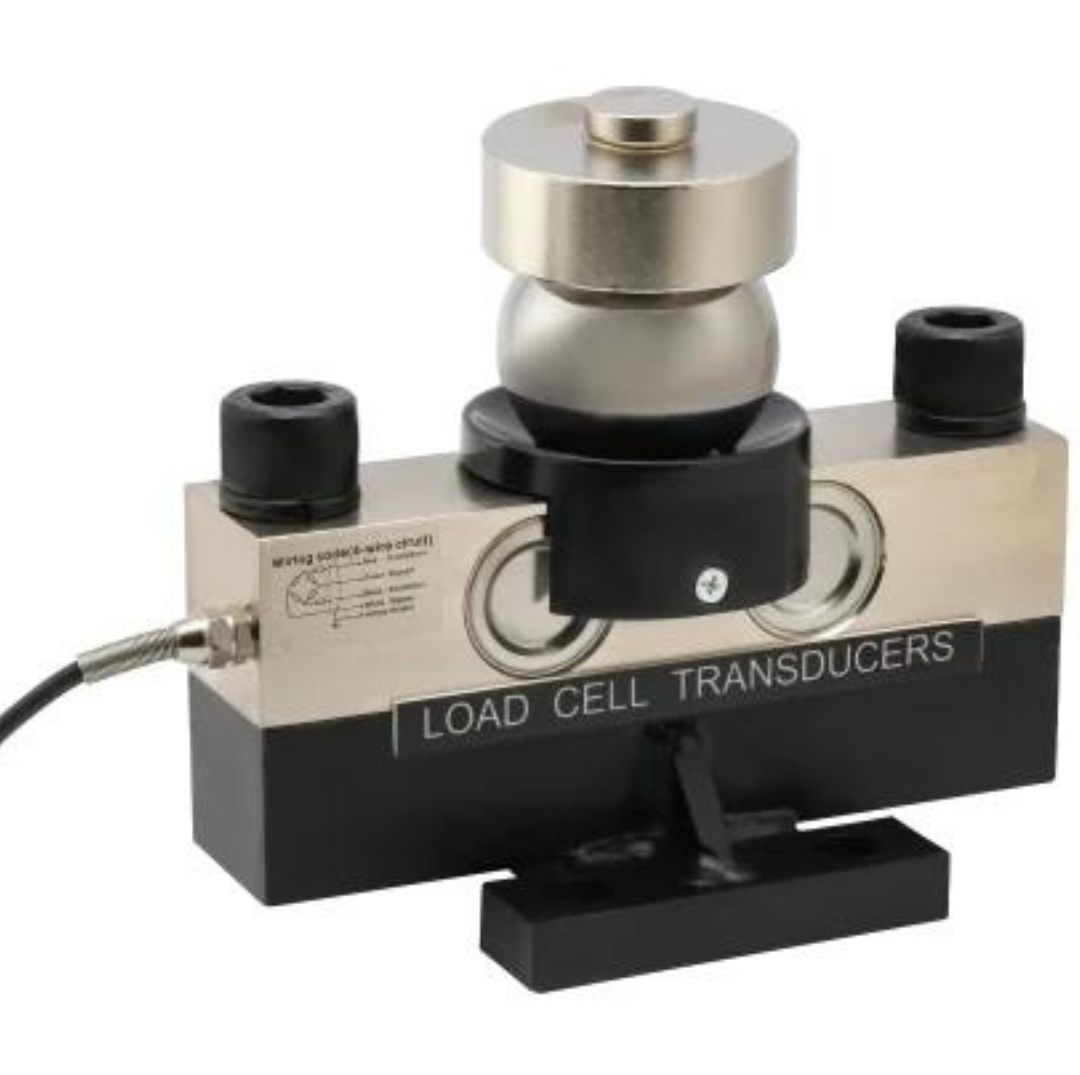
Load cells are transducers that convert mechanical force into electrical signals. Tension load cells are specifically designed to measure the stretching force applied to the load cell. They typically consist of a strain gauge which deforms when a force is applied, leading to a change in resistance. This change in resistance is converted into a proportional electrical signal, which can be used to measure the applied force.

Interfacing tension load cells with Arduino involves connecting the load cell to the Arduino board and writing code to read the electrical signals. Here are the steps to interface tension load cells with Arduino:

1. Select the appropriate load cell: Before interfacing the load cell with Arduino, it is important to select the right load cell for your application. Consider factors such as the maximum load capacity, sensitivity, and accuracy required for your measurements.

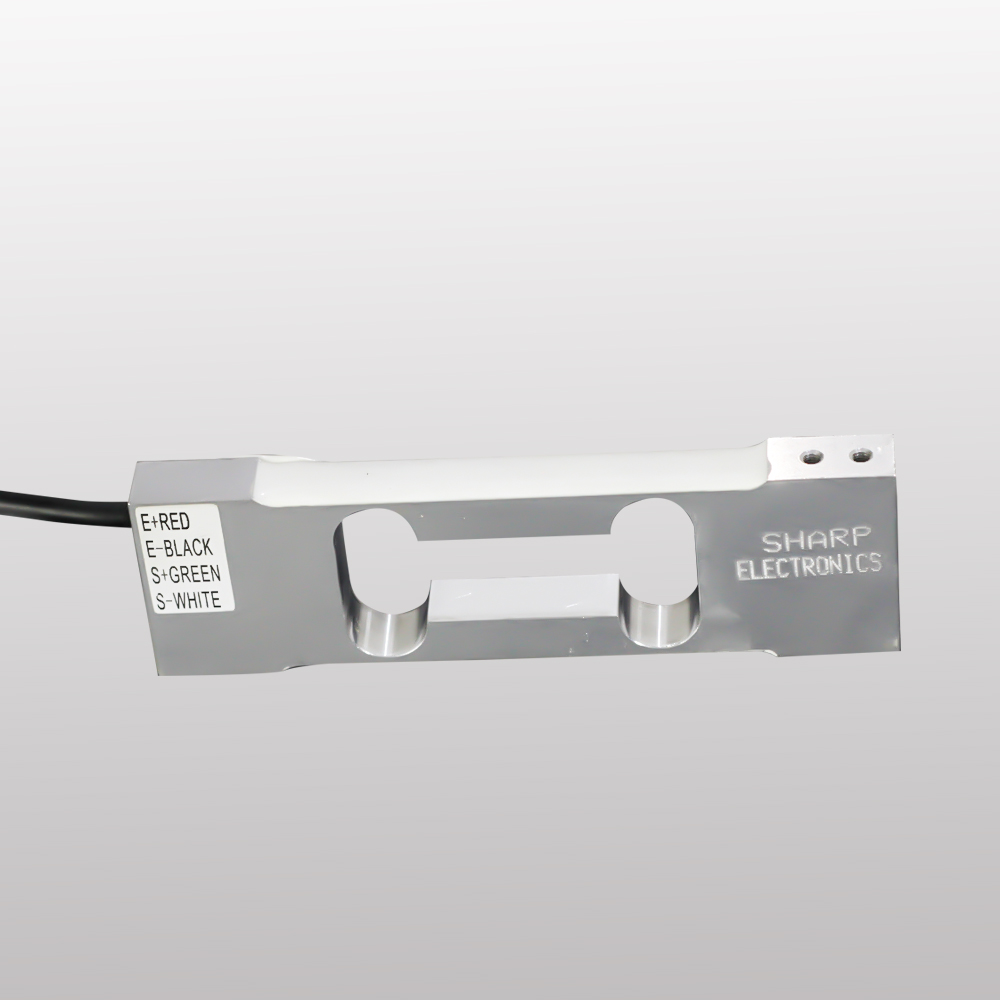
2. Connect the load cell to the Arduino board: Most load cells come with four wires – red, black, green, and white. The red and black wires are for power supply, while the green and white wires are for signal output. Connect the red wire to the 5V pin on the Arduino, the black wire to the GND pin, and the green and white wires to the analog input pins of the Arduino.

3. Calibrate the load cell: Before taking measurements, it is important to calibrate the load cell to ensure accurate results. This involves applying known weights to the load cell and recording the corresponding output voltage. This data can be used to create a calibration curve for converting voltage readings into force measurements.

4. Read data from the load cell: Write a simple Arduino program to read the analog input from the load cell and convert it into force measurements using the calibration curve. You can use the analogRead() function to read the voltage value and map it to the corresponding force measurement.

5. Display the results: Once you have calibrated the load cell and written the code to read the data, you can display the results on an LCD screen, serial monitor, or any other output device connected to the Arduino.

Interfacing tension load cells with Arduino opens up a world of possibilities for precision measurements and data analysis. Whether you are conducting experiments in a laboratory or monitoring forces in an industrial setting, using load cells with Arduino can help you achieve accurate and reliable results. By following the steps outlined in this article, you can easily interface tension load cells with Arduino and obtain precise measurements for your applications.

https://maps.app.goo.gl/jgBjMS3mZYiTGFWx9

Leave a Reply

Your email address will not be published. Required fields are marked *